Tag: Home Improvement Tips

  • Understanding Linear Feet vs. Square Feet: How to Calculate and Use Them Correctly

    When working on a home project, renovation, or buying materials, it’s important to understand the difference between linear feet and square feet. They are both common measurements but have different uses. Getting them confused can lead to overbuying or underbuying materials. In this article, we will cover what linear feet and square feet are, how to calculate them correctly, and when to use them.

    What Is a Linear Foot?

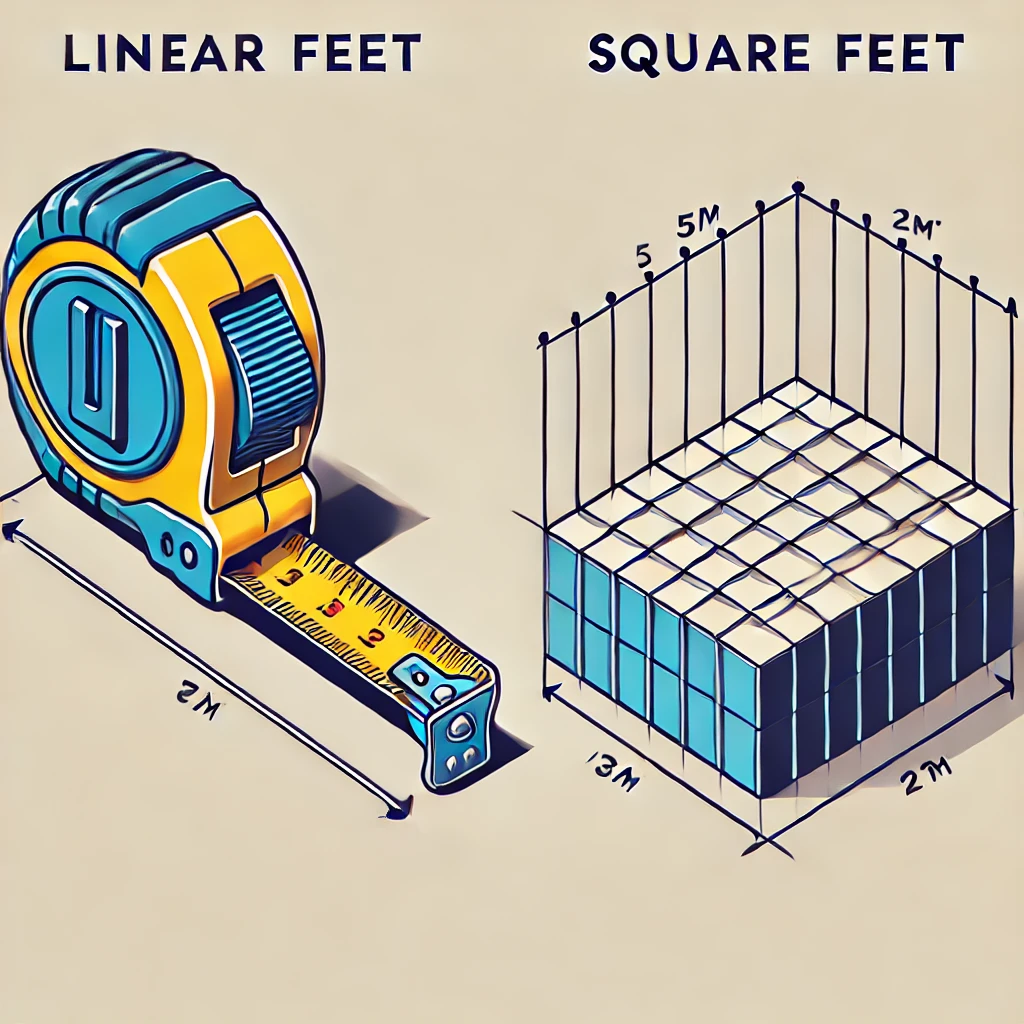
    A linear foot is a unit of measurement. One linear foot is a measurement in a straight line. But what is a linear foot exactly? It’s used when measuring materials like wood, fabric, pipe, or countertops, where only the length is measured, not the width or height.

    For instance, if you purchase a 10-foot piece of wood, it is measured in linear feet. The width and thickness aren’t included in the measurement—just the overall length. A linear foot is a unit of length used in various industries.

    How to Calculate Linear Feet

    Calculating linear feet is simple. Just measure the length in feet. If your measurement is in inches, divide the total by 12 to convert it to feet.

    Example Calculation:

    • You need a piece of molding that is 96 inches long.
    • To convert inches to feet: 96 inches ÷ 12 = 8 linear feet.

    Common Uses of Linear Feet

    Linear feet are used in various industries and projects, including:

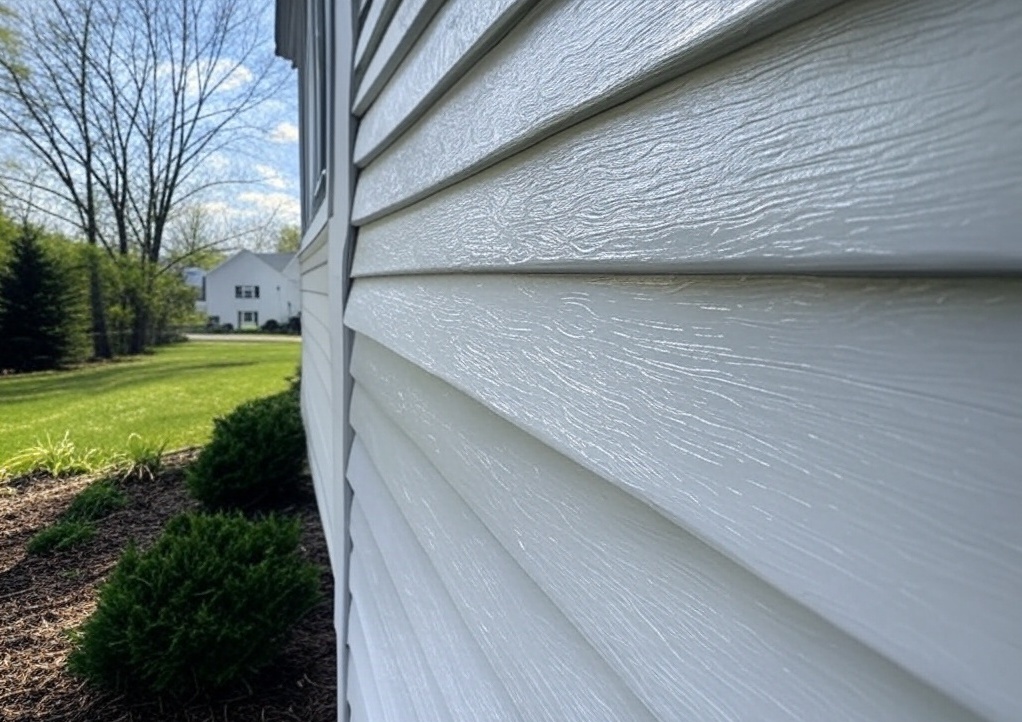
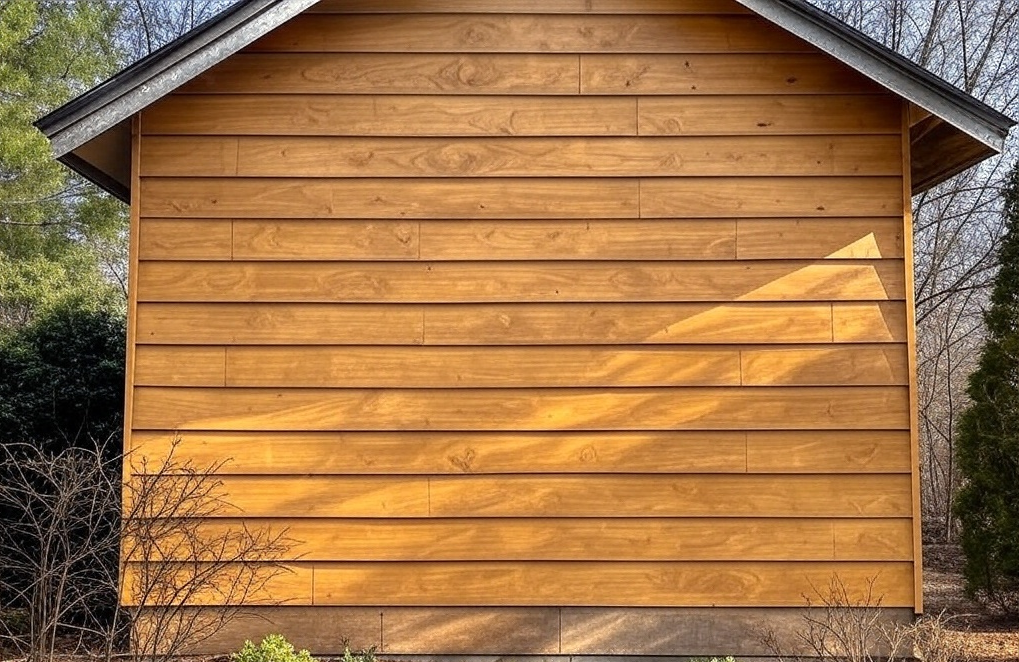
    • Lumber and Woodworking – Boards and planks are often sold by the linear foot.
    • Flooring and Carpeting – Some materials are sold by the linear foot, especially rolls.
    • Countertops – Kitchen and bathroom countertops are measured in linear feet.
    • Fencing – Fence panels and materials are usually measured this way.
    • Cabinetry – Kitchen cabinets are sometimes priced per linear foot to estimate installation costs.
    • Fabric and Textiles – Fabrics are often sold by the linear foot, especially when cut from a roll.

    What Is a Square Foot?

    A square foot is a unit of area that covers both length and width. It’s commonly used to measure floors, walls, ceilings, and other surfaces where both dimensions matter.

    How to Calculate Square Feet

    To calculate square feet, multiply the length and width in feet.

    Formula: Square Feet = Length (ft) × Width (ft)

    Example:

    • A room is 10 feet long and 12 feet wide.
    • 10 × 12 = 120 square feet.

    Common Uses of Square Feet

    Square feet are commonly used for:

    • Flooring – Tiles, carpets, and hardwood flooring are sold by the square foot.
    • Painting – The amount of paint needed is based on the square footage of walls or ceilings.
    • Real Estate – Square footage plays a key role in home size and property value.
    • Landscaping – Sod, artificial grass, and other materials are measured in square feet.
    • Roofing – Shingles and roofing materials are calculated in square footage.
    • Wallpapering – The amount of wallpaper needed depends on the square footage of the walls.

    Differences Between Linear Feet and Square Feet

    The main difference between linear feet and square feet is that linear feet measure only length, while square feet measure both length and width.

    FeatureLinear FootSquare Foot
    Measurement TypeOne-dimensionalTwo-dimensional
    Used ForLength-based materialsArea-based materials
    ExampleLumber, fencing, countertopsFlooring, walls, ceilings
    CalculationMeasured directly by lengthLength × Width

    When to Use Linear Feet vs. Square Feet

    Understanding when to use each measurement helps prevent mistakes when buying materials. Here’s a simple guide:

    • Use linear feet when you only need to measure length, such as for trim, pipes, or fabric.
    • Use square feet when calculating the area of floors, walls, or other surfaces where both dimensions matter.

    If you’re still wondering what a linear foot is, just remember it’s a simple measurement based only on length—unlike square feet, which involve both length and width.

    Converting Linear Feet to Square Feet

    Sometimes, you might need to convert linear feet to square feet. To do this, you need to know the width of the material.

    Formula: Square Feet = Linear Feet × Width (ft)

    Example Calculation:

    • A carpet roll is 3 feet wide, and you purchase 10 linear feet.
    • 10 linear feet × 3 feet wide = 30 square feet.

    Cost Differences Between Linear and Square Foot Pricing

    Prices will vary depending on if a material is being sold by linear foot or by square foot. Countertops and fencing are usually sold by linear foot, and flooring and wall coverings by square foot. Being aware of these differences will help you make better purchasing decisions. Experts suggest buying about 10% extra material to account for waste and errors during your project.

    Frequently Asked Questions (FAQs)

    1. How do I measure linear feet?

    To measure linear feet, simply measure the length of the item in feet. If measuring in inches, divide by 12 to convert to feet.

    2. Can I convert square feet to linear feet?

    Not directly. You need additional information, such as the width of the material, to make a conversion.

    3. Why do some materials use linear feet instead of square feet?

    Materials sold in strips, rolls, or lengths (such as wood, fabric, or countertops) use linear feet because only length is relevant in pricing.

    4. How many linear feet are in a 100-square-foot area?

    It depends on the width of the material. If the material is 2 feet wide, you divide 100 square feet by 2 to get 50 linear feet.

    5. Is linear foot the same as running foot?

    Yes, “linear foot” and “running foot” are interchangeable terms, both referring to length.

    Conclusion

    Knowing the difference between linear and square feet is critical when buying materials. Linear feet measure length, but square feet measure length and width. Using the appropriate unit will provide accurate estimates, and it will save time and money. Check the unit every time to avoid mistakes.

  • Budget-Friendly Siding Options to Maximize Curb Appeal for Dallas Homes

    When it comes to curb appeal, the first things potential home buyers see when they visit your home are your yard and your siding. As such, siding that’s installed properly by Dallas siding contractors will play a huge role in maximizing curb appeal and getting a good price for your home. You can also DIY it if you have the right skills.

    Either way, you don’t want siding that looks great but falls apart easily—you’ll just end up constantly repairing or replacing it, especially with Dallas’ hot summers and fierce storms.

    If you’re worried about spending a fortune on siding that looks good and lasts, don’t worry. Here are budget-friendly siding options that look great, provide protection, and are built to last.

    1. Vinyl

    Vinyl siding is one of the most popular choices, thanks to its affordability, low maintenance, and solid durability. Vinyl is well-known as one of the most budget-friendly siding options. It’s also easy to install, keeping installation costs low.

    Although vinyl isn’t as sturdy or durable as high-end options like brick and metal, it still offers great value and lasts around 20+ years. Vinyl is also highly versatile and can mimic premium materials like natural stone, giving you a stylish look for less. Overall, vinyl is a great investment—it looks good and lasts a long time.

    2. Fiber Cement

    Fiber cement is a widely used siding option, and for good reason—it’s durable, versatile, and great for curb appeal. Like vinyl, fiber cement comes in a variety of textures and colors, making it a strong choice for curb appeal. Its biggest advantage is durability. Fiber cement is one of the most durable siding materials, lasting 40+ years. This durability is a major benefit in Dallas’ harsh climate.

    On top of that, fiber cement is fire-resistant and offers great insulation, helping with energy efficiency and safety. These benefits do come at a cost. Fiber cement costs more than vinyl, but not by much. The biggest extra cost comes from installation.

    Fiber cement is more difficult to install and requires skilled professionals, which adds to the cost. Its heavier weight also increases the price. This makes fiber cement harder to install and 20-50% more expensive than vinyl.

    While that may seem like a big jump, vinyl is one of the cheapest options, so even with a 20-50% increase, it remains affordable. Its long lifespan means you’ll save significantly on repairs and replacements.

    Lastly, fiber cement is much safer than vinyl, making it a more reliable option in extreme conditions. Overall, fiber cement costs more, but it’s worth every penny.

    3. Engineered Wood

    Engineered wood isn’t the most popular choice, but it has a warm, timeless look. For farmhouses or rustic-style homes, nothing matches its aesthetic appeal.

    Engineered wood costs less than traditional wood siding because it’s made from compressed wood fibers, which are cheaper than solid wood.

    Since it’s man-made, engineered wood is more resistant to moisture, rot, and pests than traditional wood. It lasts about as long as vinyl and offers similar durability. However, it requires more maintenance, and installation is also more expensive.

    Engineered wood is priced between vinyl and fiber cement. Aside from its natural, timeless look, it offers little benefit over vinyl. It’s ideal for homeowners who want a natural wood look, but it’s not the right choice for everyone.

    More Ways to Save Money on Siding

    Those are the three best siding options if you’re on a budget. Now, let’s explore more ways to save money.

    1. Group Projects Together

    Every project comes with transportation costs for both labor and materials. Hiring one company for multiple projects—like roofing, siding, and windows—means you only pay for a single transportation fee.

    A single large truck for all materials costs less than multiple smaller trucks from different companies. If you hire one company for a large project, you can often get bulk discounts—businesses prefer handling bigger jobs for a single client rather than multiple smaller ones.

    2. Choose The Off-Peak Season

    Most homeowners do exterior upgrades in warmer months since cold weather makes projects harder. And if they rush the project, it could lead to problems down the line.

    As a result, business slows down in winter. Since Dallas has mild winters, siding jobs can still be completed without issues. When business slows down, contractors often lower their prices to attract clients. Scheduling your siding project in winter lets you take advantage of lower prices.

    3. Choose More Established Contractors

    Too often, people hire cheaper contractors only to end up with poor results, costly rework, or worse—scammers who take the money and disappear. You don’t need to hire a large corporation, but always check a contractor’s reputation and track record. A reliable contractor may cost more, but you’re paying for quality and peace of mind—it’s worth it.

    Get the Best Look for Less!

    These siding options and tips will help you cut costs on your project. Here’s one last tip: You don’t need to use the same siding material everywhere. Mixing materials—like using natural stone accents on the front—can enhance curb appeal without significantly increasing costs.

  • Lawn Mower Belt Replacement: Where to Find Quality Lawn Mower Belts

    If you want your lawn mower to perform at its best, you can’t ignore the belt. It’s the powerhouse that transfers energy from the engine to the blades. Over time, heat, friction, and yard wear and tear can do a number on it. So, when is it time to replace it? Let’s find out.

    When to Replace Your Lawn Mower Belt

    Keep an eye out for these signs that your mower belt’s calling it quits:

    • Cracks, Frays, or Damage: Give the belt a quick check. If you see visible damage, it’s time for a replacement.
    • Slipping or Power Loss: Struggling to cut grass or noticing the blades aren’t engaging? Your belt might be stretched or worn out.
    • Weird Noises: Squealing or grinding sounds during mowing could be your belt’s way of saying, “Help!”

    If you catch any of these signs, don’t wait.. replace that belt before things get worse.

    Where to Find Quality Lawn Mower Belts

    When searching for lawn mower belts for sale, it’s important to consider quality and compatibility. Here’s where you can score a good belt that fits your mower:

    1. Local Hardware Stores: Stores like Ace Hardware and Home Depot often carry a variety of belts, and their staff can help you find the right size
    2. Online Retailers: Websites like Amazon and eBay are great, but be sure to check reviews to avoid duds.
    3. Manufacturer Websites: Got a specific mower brand like MTD, Gravely, or Simplicity? Check their site for OEM (original parts) to guarantee compatibility.
    4. Auto Parts Stores: Some stores like AutoZone carry mower belts, especially if they serve small engine repair customers.

    By sticking with trusted retailers, you’ll get a belt that lasts and performs like it should.

    How to Replace Your Lawn Mower Belt

    Got your new belt? Awesome! Here’s how to replace it out step-by-step:

    1. Turn Off the Mower: Safety first—make sure the mower is off and can’t accidentally start.
    2. Clear Debris: Clean the area around the pulleys. Grass clippings can get in the way.
    3. Remove the Old Belt: Depending on your mower, you may need to remove the deck or open a cover to access it.
    4. Install the New Belt: Use a belt designed for your mower (no DIY cutting needed). Thread it along the pulleys, following any guide arrows. If no arrows, match how the old belt was positioned.
    5. Secure and Test: Once it’s wound properly, make sure everything’s snug and reassemble the mower. Start it up and let it run briefly at idle to make sure the belt moves smoothly.

    Pro Tip for Longevity

    After installing your new belt, regular checks will help keep it in its best working condition. Monitor for wear a several times during use, and most importantly during high mowing times.

    By following these tips and buying high-quality belts, your mower will have a mower that will work for your lawn for the whole growing season!