Dealing with a minor leak or planning a major upgrade? Understanding your plumbing is essential. When those problems arise, it can feel like you’re trying to paddle upstream without a paddle. With clear tips and trusted advice, Dan’s Plumbing Guide is here to offer their expertise. They know all too well how disheartening and intimidating plumbing jobs can become.
The aim is to make your plumbing work less complicated, providing concise, relevant information for you – with real-life solutions for real-life scenarios. So, roll your sleeves up, have them with you through your journey.
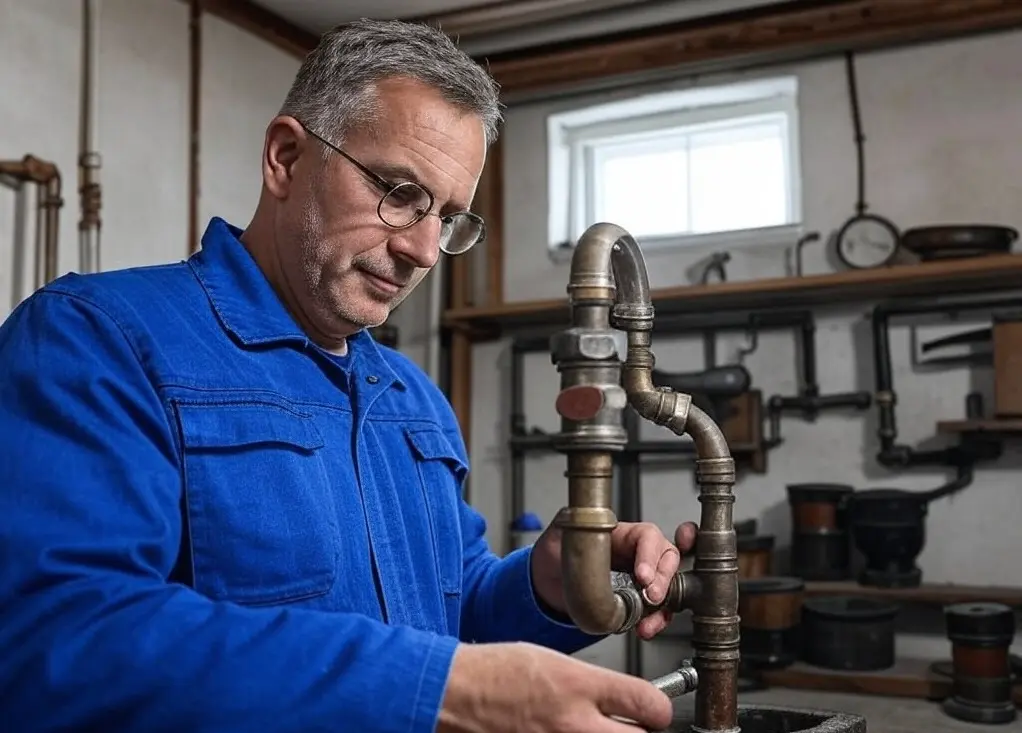
Know Your System
Your home’s plumbing system is made up of supply lines, waste lines, and vents. Each component ensures that clean water comes in and wastewater heads out, keeping everything in your home in top shape.
Different systems like potable water, sanitary drainage, and stormwater drainage each have their own roles, promoting healthy water flow and safe waste disposal. Getting to know each system’s function is key to proper upkeep.
- DIY Projects: Tackle minor issues like running toilets or replacing faucet washers. These quick fixes can save you money and boost your confidence.
- Professional Services: For more complex problems, such as sewer line issues or big installations, it’s best to hire licensed plumbers. This can prevent potential dangers and costly mistakes down the road.
- Plumbing Tools: Essentials like an adjustable wrench, drain snake, and plumber’s tape should always be in your toolbox, ready for common repairs or emergencies.
- Important Maintenance: Regular check-ups can help avoid big, expensive repairs down the line.
Fittings—such as couplings, elbows, and tees—are essential for making tight connections. Keeping these parts well-labeled and organized will make your plumbing tasks much more manageable.
Gather Essential Tools
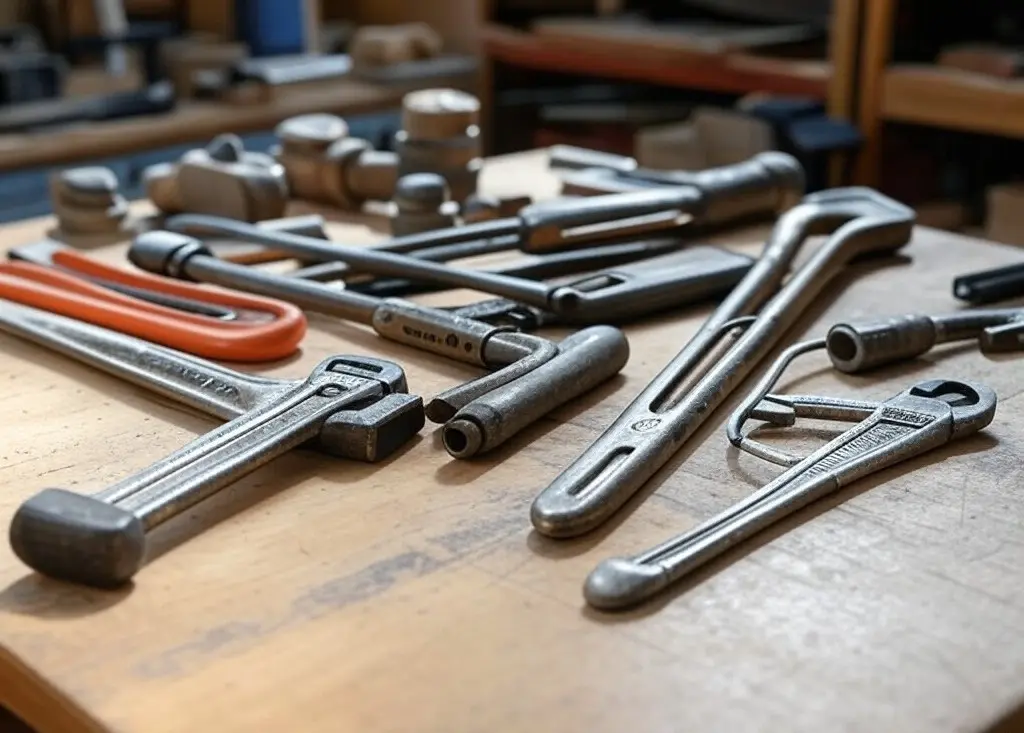
Stocking your toolbox with the right items makes your job easier and prevents setbacks. Investing wisely in essential tools pays off, whether you’re fixing a small leak or overhauling your plumbing.
Know Your Wrenches
Pipe wrenches, basin wrenches, and adjustable wrenches are crucial for tightening fixtures. A faucet key is handy for dealing with tough nuts in tight spaces.
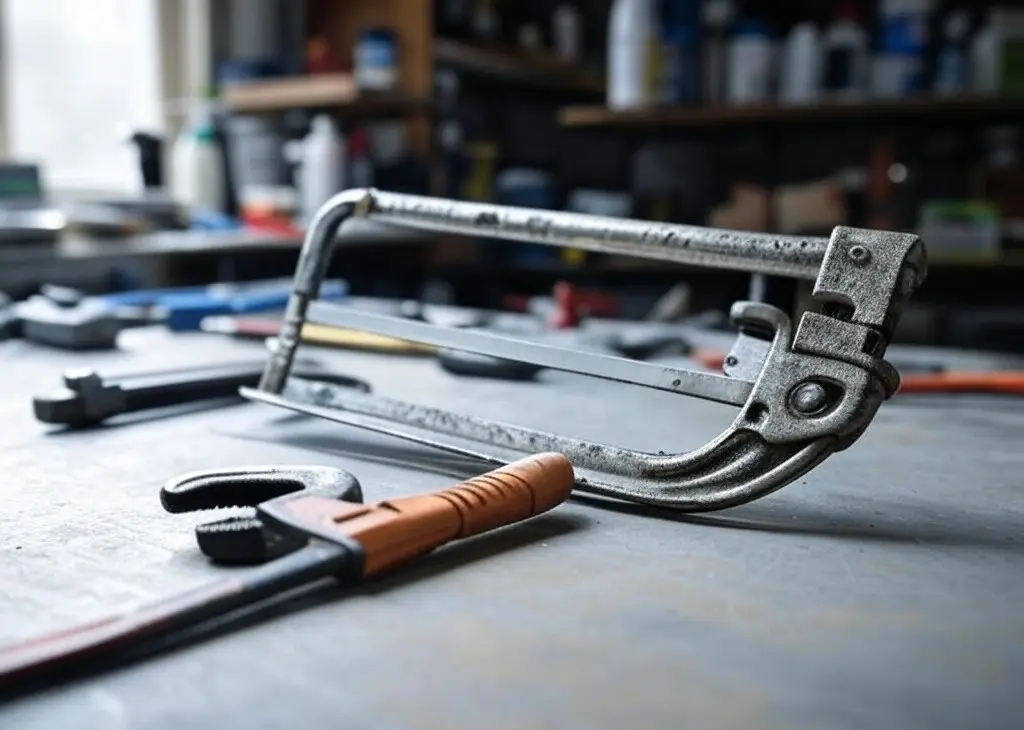
Pipe Work Essentials
A hacksaw for cutting pipes, a deburring tool for smoothing edges, and thread sealing tape are must-haves for pipe work.
Clogging and Blockage Tools
Plungers, hand augers, and snake machines are key for clearing tough clogs. Inspection cameras can help you spot problems without damaging your pipes.
Safety First
Always wear goggles and gloves to protect yourself, and be careful around flammable materials when soldering. A safe workspace leads to better results.
Other Essential Tools
Tools like PEX pipe expanders, crimpers, and tube benders add versatility to your toolkit. Don’t forget stubby screwdrivers for those hard-to-reach places and tools to measure flow rate and pipe volume for precise material handling.
Expert Tips
Keep your tools organized and inspect them regularly to catch any wear or defects early. Stay informed about the latest solutions to ensure success in your projects.
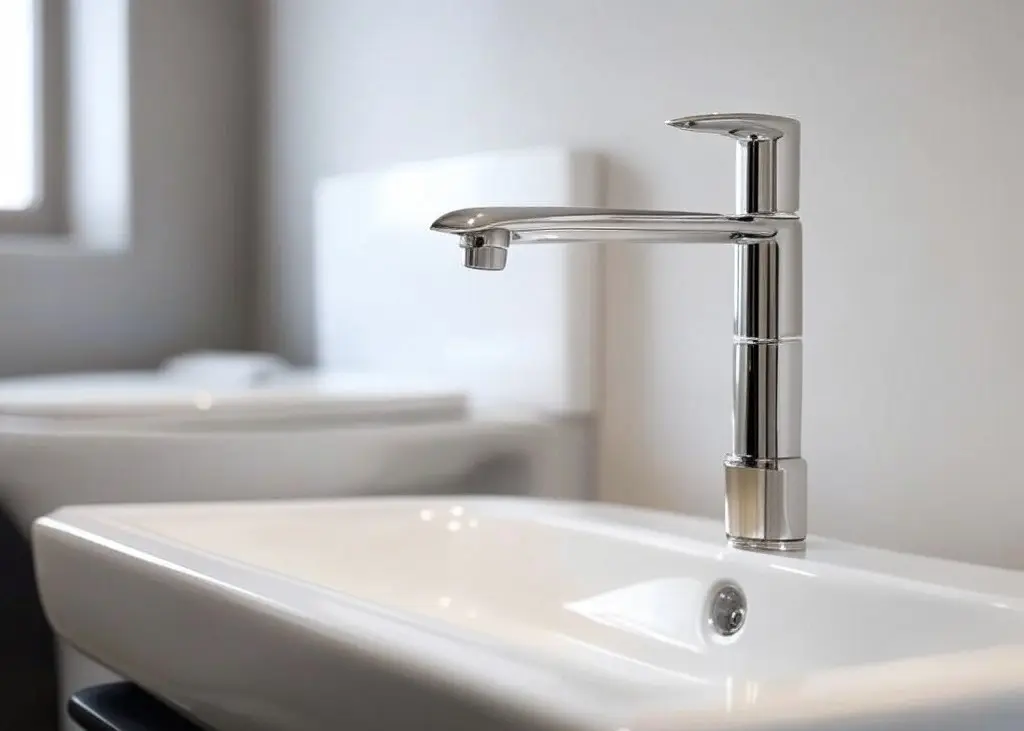
Fix Leaky Faucets

To fix a leaky faucet, start by isolating the leak and turning off the water supply. Disassemble the faucet carefully, keeping all parts organized for easy reassembly.
Check for worn-out components like washers, O-rings, or seals, and replace them as needed. When reassembling, use plumber’s tape on threads to ensure a tight seal.
Testing and Final Checks: Gradually turn the water back on, watching for any leaks. If you spot a drip, tighten the connections slightly with an adjustable wrench—but don’t overdo it to avoid damaging the materials.
Sometimes, a worn handle can be the culprit behind a leak. Replacing it can stop the drip and enhance the faucet’s stability.
Know your faucet types: Compression, Cartridge, and Ball. Each has unique mechanisms and common leak points, so tailor your troubleshooting accordingly.
Unclog Drains Safely
When dealing with clogged drains, patience and the right tools are key. Avoid harsh chemicals that can damage your pipes, and opt for tools specifically designed for the type of clog you’re facing.
- DIY Drain Cleaners: A mix of baking soda and vinegar, or baking soda and salt, followed by hot water can clear greasy clogs naturally.
- Prevent Future Clogs: Don’t pour grease down drains and use strainers to catch debris. Regular maintenance can prevent severe clogs and save you from costly repairs.
Regular Inspections and Maintenance
Keep your plumbing in top shape with regular inspections. Check for leaks, tighten connections, and replace worn parts as needed. This proactive approach can extend the life of your plumbing and prevent emergencies.
Final Thoughts
Your home’s plumbing is a critical asset. With the right tools and knowledge, you can maintain its integrity and ensure a comfortable, efficient living environment. Stay diligent and your plumbing will do its job without a hitch.