Blog

  • How to Maintain Lifting Chains for Real Estate Construction Projects

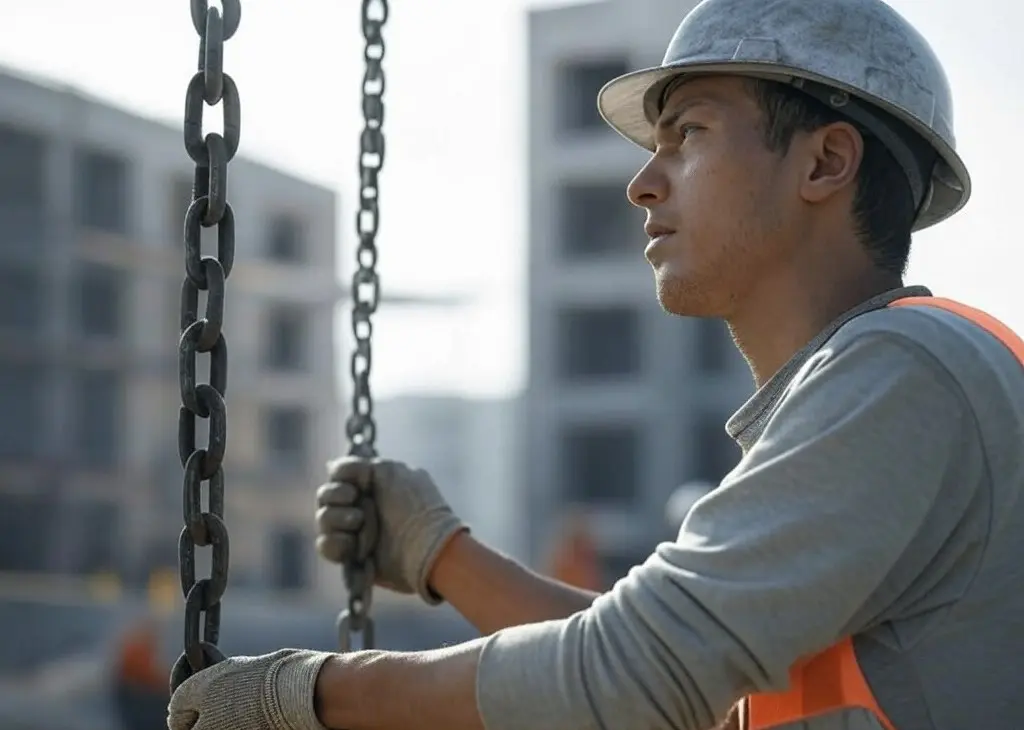
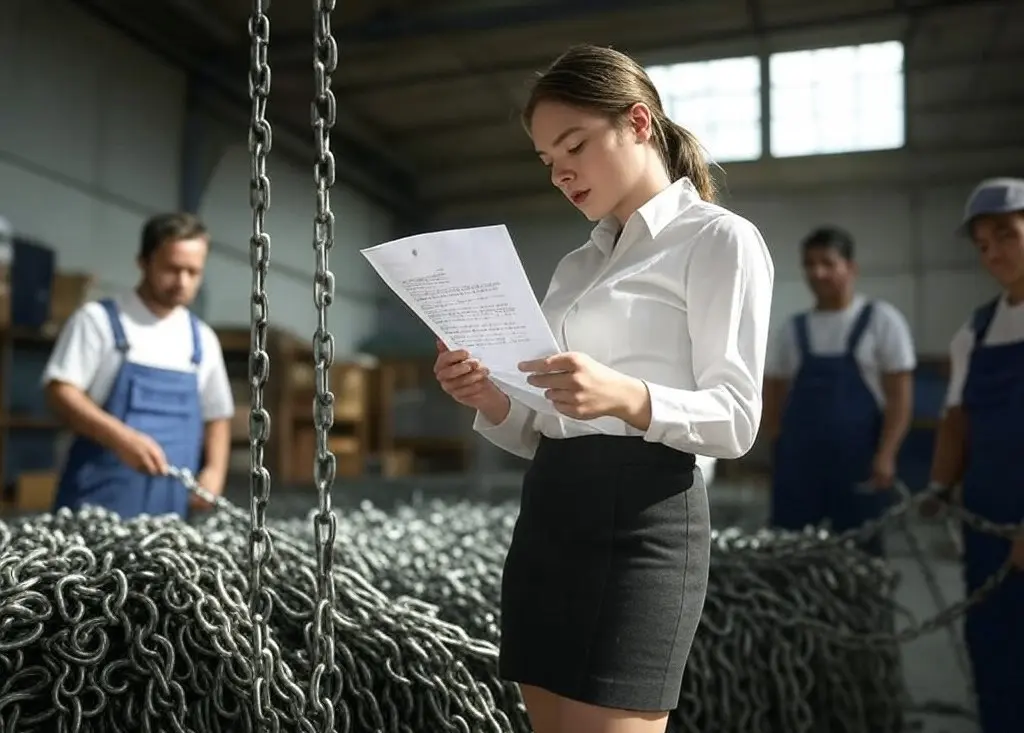
    Construction crews involved in real estate development have to inspect all site and hoisting equipment—chains, hooks, pulleys, and other key components—periodically. Identification of faults at an early stage, including elongated chains, cracks, and rust, prevents costly safety risks and delayed timelines.

    That’s why regular inspections and smart maintenance are key to maximizing the lifespan and performance of lifting chain and components. Equipment failures can disrupt progress and pose serious risks.

    Here’s how to keep your lifting chains and other vital tools in top shape for a successful project.

    Inspect Chains Regularly for Wear and Damage

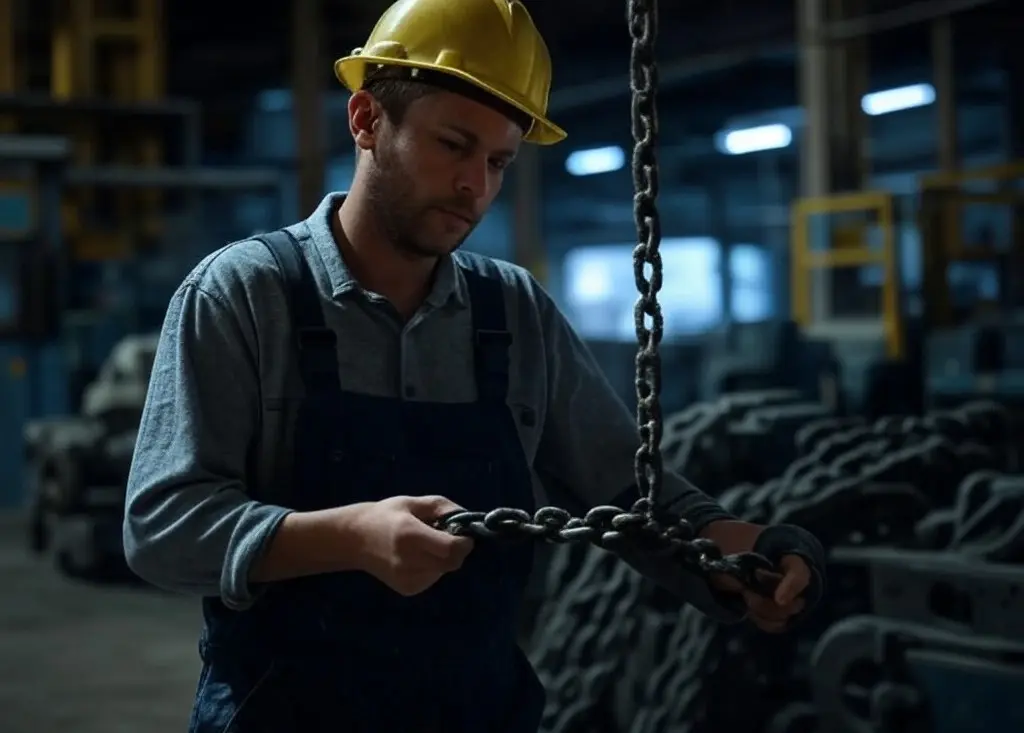
    Before starting work, inspect the chains and critical items such as pulleys, hooks, and attachments for rust, cracks, and elongated links, or worn sections that could weaken the chain’s strength. Identifying them early keeps operations moving and saves you money on maintenance.

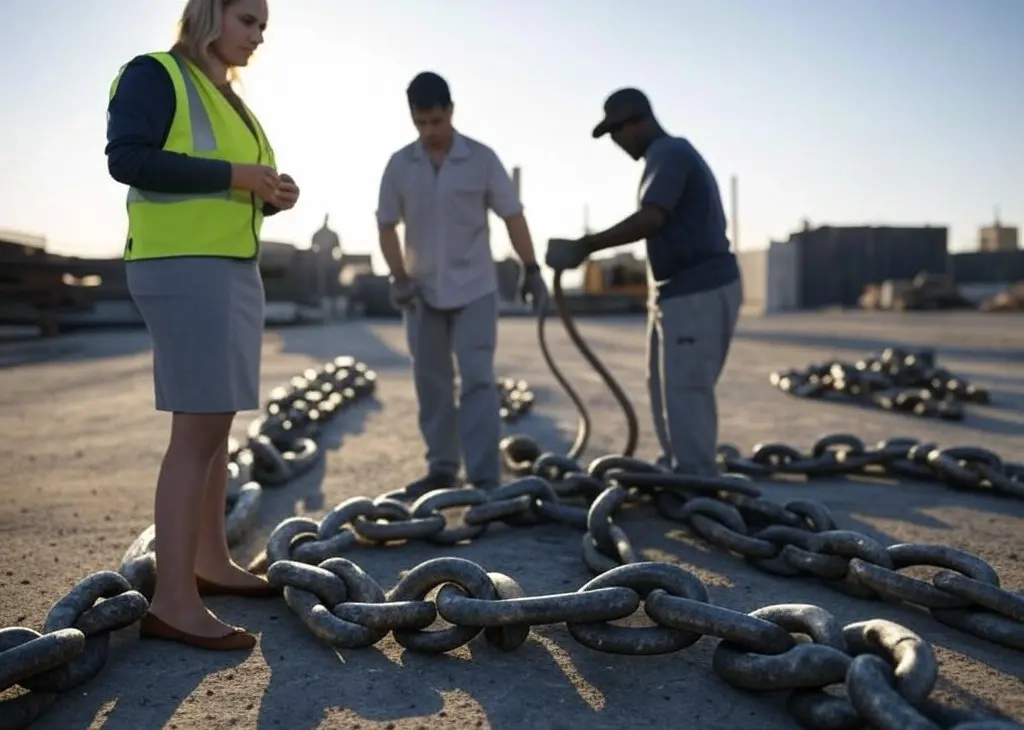
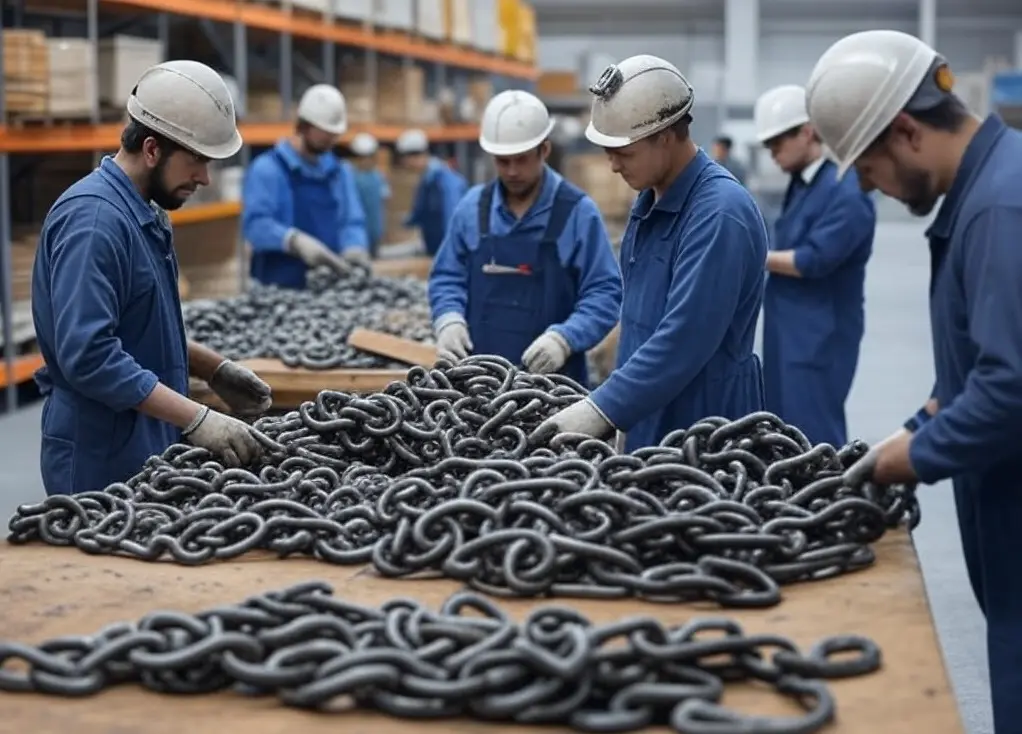
    For bigger projects, you should schedule regular professional inspections. Experts can catch hidden defects and make sure your equipment meets all safety standards.

    Keep Chains Clean and Lubricated

    Construction areas are dirty, and that can cause your clothes or gear to wear out quickly due to dirt, moisture, and grime. It’s important to keep your chains clean. Otherwise, even simple tasks like unpacking loads can become a struggle if things get stuck for too long.

    And don’t skip the lube! A good chain lubricant cuts down friction, fights rust, and keeps your chains working smoothly under heavy loads. Treat your equipment right, and it’ll keep the job moving without a hitch.

    Invest in High-Quality Equipment

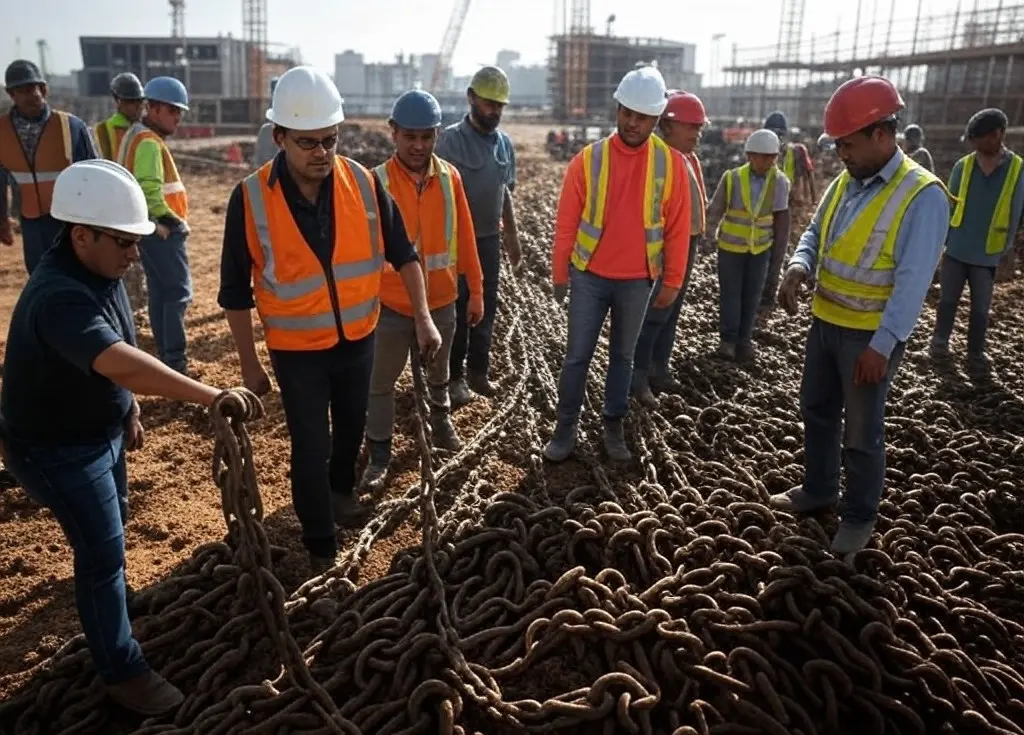
    High-quality lifting chains and spares cannot be a luxury, but a necessity, in real estate development. Any form of failure in such items cannot be borne, and such failure can cause loss of time at a critical stage in development work.

    Trusted suppliers provide durable chains and accessories built to withstand demanding conditions, ensuring that your operations stay efficient and safe. While it might cost a bit more upfront, investing in quality pays off in reliability and peace of mind.

    Follow Load Limits and Usage Guidelines

    It is important that every member of your team knows that lifting chains have a Working Load Limit (WLL). This is because if you exceed the maximum weight that it can safely handle then this will be very dangerous. To avoid equipment damage and injuries, ensure that your crew comprehends and adheres to these boundaries.

    Also, avoid risky practices like shock loading (sudden jerks) or twisting chains. Lifting chains are designed for straight pulls under steady tension—anything else can weaken them over time and increase the chance of breakage.

    Store Chains Properly When Not in Use

    When your lifting chains aren’t in use, proper storage helps protect them from damage. Keep them in a clean, dry place, away from moisture and extreme temperatures. Hanging chains on racks prevents tangling and deformation.

    Exposure to direct sunlight can also weaken metal over time, so store chains in a shaded area. Taking these precautions will keep your equipment ready to go when you need it.

    Schedule Professional Inspections and Repairs

    While routine checks are essential, professional inspections provide an added layer of safety. Experts can detect hidden issues and ensure that your lifting chains meet local construction regulations.

    If a chain shows serious wear or damage, replace it immediately. Using faulty equipment can lead to dangerous failures, putting both your crew and the project timeline at risk. Don’t take that chance—be proactive with repairs and replacements.

    Final Thoughts

    For any construction project to be successful, there is a need for the right kind of equipment. As long as you manage to keep up with maintaining, inspecting, and following good safety rules of practice on a regular basis, then you will be able to prevent any interruption that may be very expensive, as well as take care of your employees.

    Invest in your equipment, stick to the plan, and build with confidence!

  • Lawn Mower Belt Replacement: Where to Find Quality Lawn Mower Belts

    If you want your lawn mower to perform at its best, you can’t ignore the belt. It’s the powerhouse that transfers energy from the engine to the blades. Over time, heat, friction, and yard wear and tear can do a number on it. So, when is it time to replace it? Let’s find out.

    When to Replace Your Lawn Mower Belt

    Keep an eye out for these signs that your mower belt’s calling it quits:

    • Cracks, Frays, or Damage: Give the belt a quick check. If you see visible damage, it’s time for a replacement.
    • Slipping or Power Loss: Struggling to cut grass or noticing the blades aren’t engaging? Your belt might be stretched or worn out.
    • Weird Noises: Squealing or grinding sounds during mowing could be your belt’s way of saying, “Help!”

    If you catch any of these signs, don’t wait.. replace that belt before things get worse.

    Where to Find Quality Lawn Mower Belts

    When searching for lawn mower belts for sale, it’s important to consider quality and compatibility. Here’s where you can score a good belt that fits your mower:

    1. Local Hardware Stores: Stores like Ace Hardware and Home Depot often carry a variety of belts, and their staff can help you find the right size
    2. Online Retailers: Websites like Amazon and eBay are great, but be sure to check reviews to avoid duds.
    3. Manufacturer Websites: Got a specific mower brand like MTD, Gravely, or Simplicity? Check their site for OEM (original parts) to guarantee compatibility.
    4. Auto Parts Stores: Some stores like AutoZone carry mower belts, especially if they serve small engine repair customers.

    By sticking with trusted retailers, you’ll get a belt that lasts and performs like it should.

    How to Replace Your Lawn Mower Belt

    Got your new belt? Awesome! Here’s how to replace it out step-by-step:

    1. Turn Off the Mower: Safety first—make sure the mower is off and can’t accidentally start.
    2. Clear Debris: Clean the area around the pulleys. Grass clippings can get in the way.
    3. Remove the Old Belt: Depending on your mower, you may need to remove the deck or open a cover to access it.
    4. Install the New Belt: Use a belt designed for your mower (no DIY cutting needed). Thread it along the pulleys, following any guide arrows. If no arrows, match how the old belt was positioned.
    5. Secure and Test: Once it’s wound properly, make sure everything’s snug and reassemble the mower. Start it up and let it run briefly at idle to make sure the belt moves smoothly.

    Pro Tip for Longevity

    After installing your new belt, regular checks will help keep it in its best working condition. Monitor for wear a several times during use, and most importantly during high mowing times.

    By following these tips and buying high-quality belts, your mower will have a mower that will work for your lawn for the whole growing season!

  • In Need of Remodeling Inspiration? Celebrity Kitchens to Swoon Over

    If a home is where the heart is, the kitchen is the essence of that beating muscle that keeps everything alive and intact. It’s the space where families are connected in their shared love for food.

    Yet, sometimes, you find yourself gazing over the outdated cabinetry and scratched kitchen island, thinking, “This is not what I envisioned.”

    It’s only natural to feel that way. Americans spend a lot of time in the kitchen. According to the U.S. Bureau of Labor Statistics, about 57.2% of the population prepares meals in the kitchen on an average day.

    We’d probably be more inclined to cook up a storm if our kitchens were fitted with modern appliances and bespoke detailing. “Sofia Vergara has a La Cornue stove, why can’t I?

    Oh, but you can. The kitchen is usually the most expensive part of the house to renovate. The last thing you want is buyer’s remorse. And you can’t go into it haphazardly either.

    Let’s understand the lesser-known impact of permits on remodeling projects.

    Dealing With Red Tape

    Some kitchen remodeling projects require permits depending on the extent of the work. Whether your kitchen undergoes structural changes, foundation work or plumbing and electrical work, it’s best to consult your local city government, advises HGTV.

    Every city has specific permit requirements for construction, remodeling, and refurbishing. For example, Burbank kitchen remodeling entails checking with the Burbank Building and Safety Division for a better understanding of the requirements. Without doing so, you risk your project being stalled.

    Once you are through with the permits, you need to nail a design according to your vision. Even better, get inspiration from celebs because their kitchen designs can be replicated without spending a fortune.

    Celeb-Inspired Kitchen Decor Ideas

    We’ll share a few celebrity-inspired kitchens to access the right side of your brain and spark creativity. Continue reading before bringing out the sledgehammer and knocking down a few walls.

    Anne Hathaway’s Lighting Style

    Source: https://www.instagram.com/p/B2FV81thWCX

    The Hollywood star’s penchant for high fashion extends into her home.

    Although restrained, Hathaway’s decor style is more relaxed and subdued. That’s not to say she has boring taste when it comes to her California country home – quite the opposite.

    Hathaway’s interior designer Pamela Shamshiri lined the kitchen ceiling with four clear glass flush mounts and two longer copper pendants, using the traditional farmhouse aesthetic as her inspiration board.

    The unique placement of the light fittings was in stark contrast to homeowners typically choosing only one lighting option. The use of two different styles of lighting in one space draws the eye up to Hathaway’s vertical kitchen cabinets.

    Reminiscent of quiet luxury, the turquoise cabinets and brass hardware expertly complement the wooden walls and white tile backsplash.

    Replicating the look is no mean feat. Shamshiri enlisted artisans and specialized fitters to bring the vision to life.

    Regal Construction & Remodeling offers sage advice: always work with experienced local contractors and designers. They know the lay of the land and will adhere to building codes and regulations.

    Coco Gauff’s Classic Black and White Color Palette

    Tennis pro Coco Gauff sees a lot of excitement on the court which is why she chose to focus on an understated color palette in her Delray Beach kitchen.

    A contemporary take on a classic style, Gauff’s elegant kitchen plays with black-and-white and flourishes of other shades.

    The dark-colored countertops and painted cabinets merge perfectly with the lighter walls, enthusing a sense of calmness.

    The classic color palette incorporates different textures, making the kitchen feel warm and inviting. If a timeless, versatile kitchen redesign is what you’re after, you can’t go wrong with the elegance and simplicity of black and white.

    Sofia Vergara’s Ultra Luxe Stove

    Source: https://www.facebook.com/photo.php?fbid=961917065290536

    And here you thought that’s the last you’ll hear about Sofia Vergara’s French stove.

    The Colombian-born actress doesn’t do things half heartedly. When she invited Architectural Digest into her Beverly Park mansion last year, fans couldn’t stop talking about her kitchen. And rightly so.

    By her admission, Vergara doesn’t like cooking but that hasn’t stopped her from creating a chef’s dream kitchen. She tells AD that she loves entertaining with lots of food, hence the thinking behind her design process.

    Comfort is big for the Modern Family star. The white Onyx counter gives off “rich aunt vibes” while the real star is the French-inspired range (stove) from La Cornue.

    Veranda describes the European brand as the ultimate status symbol. Costing a little over $ 8,000, these appliances are more than kitchen eye candy. They’ve become worthy investments for well-heeled customers and “home cooks”.

    The Celebrity Influence

    You can salivate all you want over celebrity kitchens but when putting your mark on your aspirational kitchen, be sure to set a budget and stick to it. To stay within your allocated amount, list the “essentials” and “nice to haves.”

    Employ a reliable contractor with a good track record and positive reviews. Insist on looking at their portfolio of previous projects.

    Choosing materials should be a collaborative effort with you and your contractor. Go for durable and easy-to-maintain options like quartz countertops and appliances made for energy efficiency.

    Now go forth and create magic!.

  • What Are the Most Popular Uses for Transportable Cabins

    Transportable cabins are all the rage these days. They’re affordable, easy to move, and super versatile, perfect for homeowners who need extra space but don’t want to mess with a major renovation. So, how are people using these cabins? Let’s take a look.

    A Comfy Spot for Guests

    Friends and family visting and no spare room? No problem at all! A transportable cabin can be the perfect solution. It gives your guests a private space, keeping them comfortable. Add a bed, a little storage, and a mini-refrigerator for a luxurious touch, and your guests will love having their own little retreat.

    The best part? These cabins can come with climate control, so your guests stay comfortable no matter the weather. If you love hosting but hate the chaos of cramming everyone into the main house, this setup might just be a lifesaver.

    Temporary Housing During Renovations

    If you’ve ever gone through a home renovation, you know how chaotic things can get, dust everywhere, loud noises, and sometimes you can’t even use your own kitchen or bathroom. That’s where a portable cabin can be a lifesaver.

    Set one up in the yard, and then use it temporarily for living in while the construction crew takes over your house. These cabins often come with proper insulation, flooring, and lighting, so you can live comfortably while keeping an eye on the reno progress. And when the project’s done? The cabin’s gone, just like that.

    Your Own Personal Retreat

    Sometimes you just need a space that’s yours. Whether you’re into reading, painting, yoga, or just chilling with a cup of coffee, a portable cabin can become your peaceful retreat. Think of it like your own little hideaway.

    And since these cabins are not big, they will not use a lot of space in your backyard. Plus, you can customize them to match your style, a cozy reading nook, a creative art studio, or even a quiet office to escape the noise inside the house.

    Additional Living Space for Growing Families

    Kids grow up fast, and before you know it, your home feels too small. Portable cabins can be a great solution if you need more space but don’t want to build an expensive home addition.

    You could turn one into a private spot for your teenager to hang out or a separate living area for aging parents. They’re like mini apartments, add a few utilities, some comfy furniture, and you’re good to go. It’s a simple way to keep everyone happy and under one roof.

    Built to Last

    Many have a wrong perception that a portable cabin lasts for a short-term use, but they can actually hold up for the long haul. These things are built tough, designed to handle various weather conditions. And since they’re mobile, you can move them to a new property if needed or repurpose them later.

    Whether you use one as a guesthouse, a creative retreat, or extra living space, transportable cabins are a flexible, long-term investment that can grow with your family’s needs.

  • Heater Maintenance Tips for Extreme Cold Weather

    Are you getting ready for winter’s harsh cold? Do your heating and cooling systems stand a fighting chance in such extreme temperatures? Keeping your living spaces warm and cozy during winter is a necessity, and a little maintenance can go a long, long way in terms of preventing breakage.

    Here are a few simple tips for keeping your heating system running like a charm.

    Schedule a Professional Inspection

    When was the last time a professional inspected your heater? If you’ve found yourself Googling “heater repair near me“, it’s a sign to get your unit checked. A licensed technician can catch early signs of trouble, saving you from the nightmare of a breakdown in sub-zero temperatures.

    During an inspection, the technician will check burners, clean essential parts, and test the system’s safety controls. This helps your heater run more efficiently, saving energy and lowering your bills. Getting this done before winter sets in will give you peace of mind when the cold really hits.

    Replace or Clean Air Filters Regularly

    Clogged filters are one of the sneaky culprits behind poor heating performance. They block airflow, forcing your system to work harder, which drives up energy bills and shortens the life of your equipment.

    To keep things running smoothly, swap out or clean your filters every 30 to 90 days—more often if you have pets or allergies. Clean filters improve airflow, enhance air quality, and prevent your system from overworking itself.

    Seal Leaks and Insulate Your Home

    Feeling drafts around your doors and windows? That warm air might be sneaking out, causing your heater to work extra hard. And you know what that means, high utility bills and less effective heating.

    To fix it, seal up those cracks with weatherstripping or caulk. You might also want to add more insulation, especially in the attic. Keeping the heat where it belongs will give your heater a break and keep you cozy without draining your wallet.

    Optimize Thermostat Settings

    Your thermostat can either help you out or cause trouble, depending on how you set it. Turn it up too high, and your heating system works overtime. Set it too low, and you’ll be stuck shivering.

    The sweet spot is a moderate temperature that keeps your home comfortable without wasting energy. If you haven’t already, think about upgrading to a programmable or smart thermostat. These devices can adjust the temperature based on your schedule, saving energy when you’re not home.

    Keep Vents and Ducts Clear

    Blocked vents are like roadblocks for warm air. Dust, debris, or even misplaced furniture can stop air from circulating properly, making some rooms feel colder than others.

    Give your vents a regular vacuuming and check for any obstructions. Also, inspect your ducts for leaks or blockages. Clear airflow not only improves heating efficiency but also boosts your indoor air quality.

    Stay Warm Without Worry

    Getting your heating system ready for extreme cold doesn’t have to be a hassle. If something goes wrong, a quick search for ‘heater repair near me‘ will connect you with pros who can fix it fast. Regular maintenance helps you stay ahead, so you can enjoy a warm, worry-free winter.