Category: Home Maintenance Inspection

  • Soffits and Gutters: Keeping Your Home Protected

    Home maintenance does not entirely involve expensive repairs like roofs, walls, or foundations. Two important parts that often get forgotten when it comes to protecting the house from water and moisture damage are the soffits and gutters. We’ll explain what soffits and gutters are, why they’re important, and how to maintain them so the house stays solid for the long run.

    What Are Soffits and Gutters?
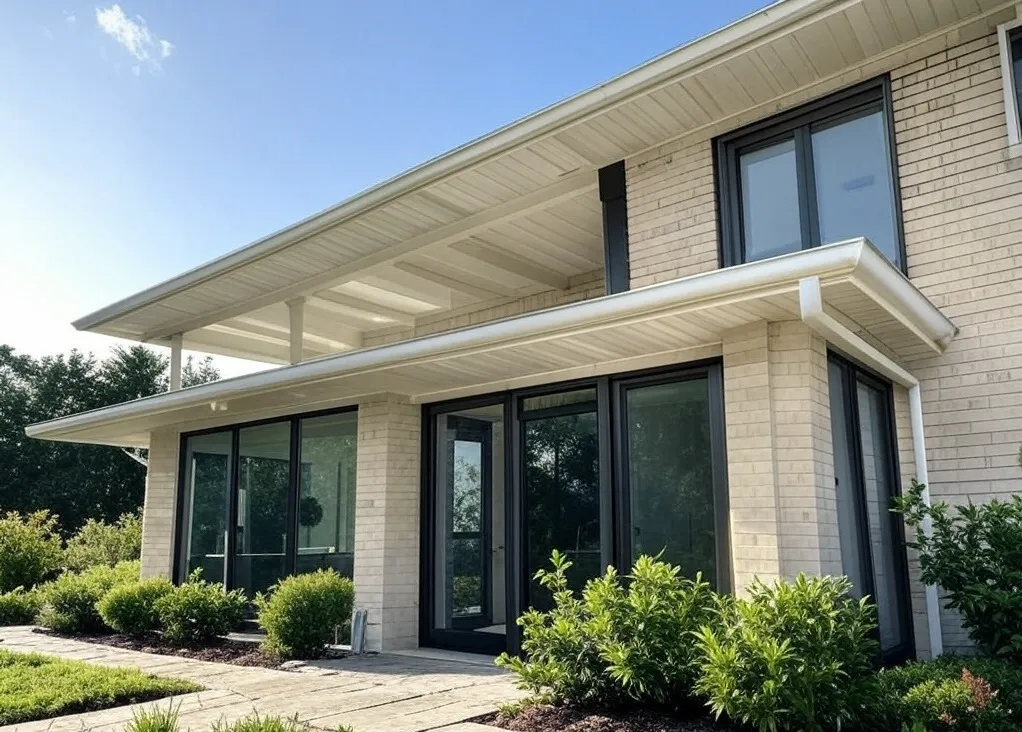
    Soffits

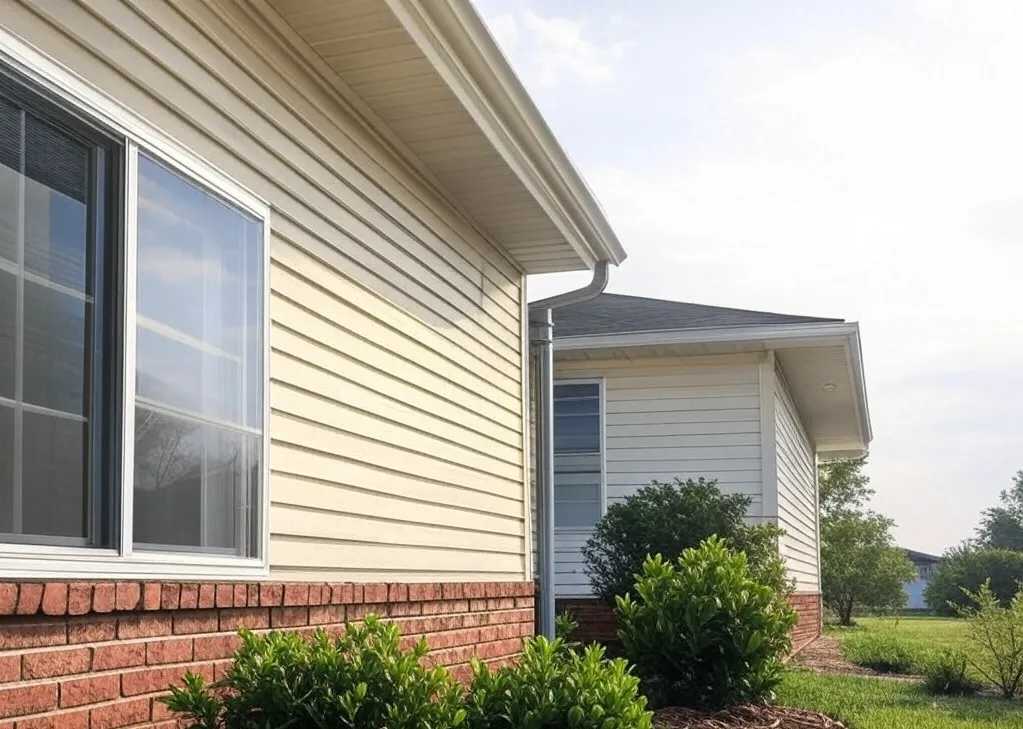
    A soffit is the underside of a roof that projects outward from the wall of a house. Apart from giving the house a neat look, soffits also play a significant role in ventilating the attic and protecting the house against pests and dampness.

    Gutters

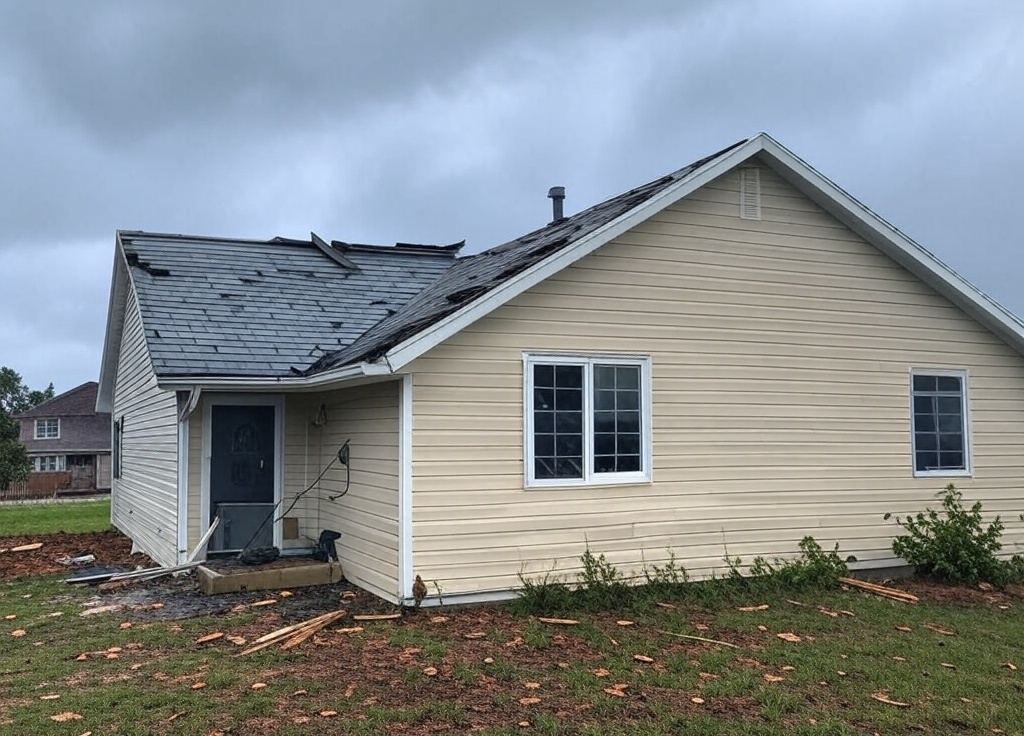
    A gutter is a system installed along the edge of the roof to guide rainwater away from the house. If rainwater isn’t properly redirected, it can cause soil erosion, fascia rot, and even damage to the foundation.

    Why Soffits Are Important

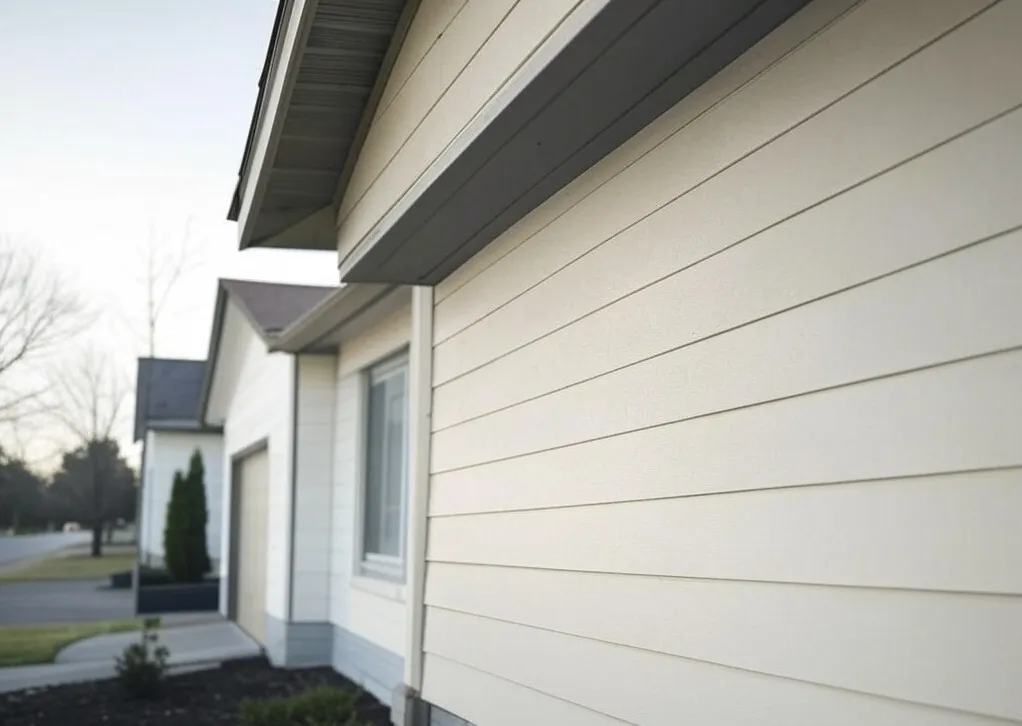
    Soffits are more than just aesthetics—they’re an essential part of your home’s ventilation and protection system.

    • Prevent Excess Moisture: Soffits help prevent too much moisture, which can lead to mold and wood rot, by circulating air in your attic.
    • Lower Attic Temperature through Soffit Vents: Soffit vents reduce attic temperatures, easing the load on your AC during warmer months.
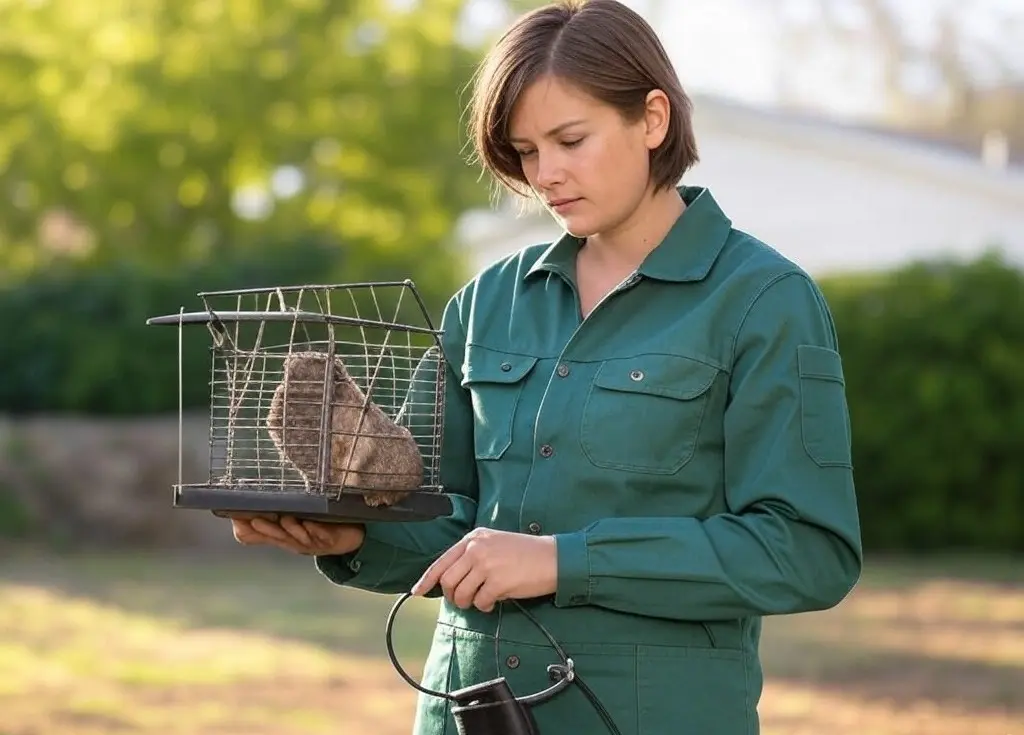
    • Preventing Pests: Without soffits, insects, birds, and rodents can easily get inside and make a home in your attic.

    If your soffits need repairs, don’t wait too long to fix them. Otherwise, you will end up paying more for larger repairs in the future.

    The Importance of Gutters in Protecting Your Home

    Gutters are crucial for managing rainwater. Here’s why:

    • Preventing Foundation Damage: Water that isn’t directed properly can seep into the soil around your home, leading to foundation shifts and wall cracks.
    • Protecting the Landscape: Water falling straight from your roof can erode soil and damage your garden or yard.
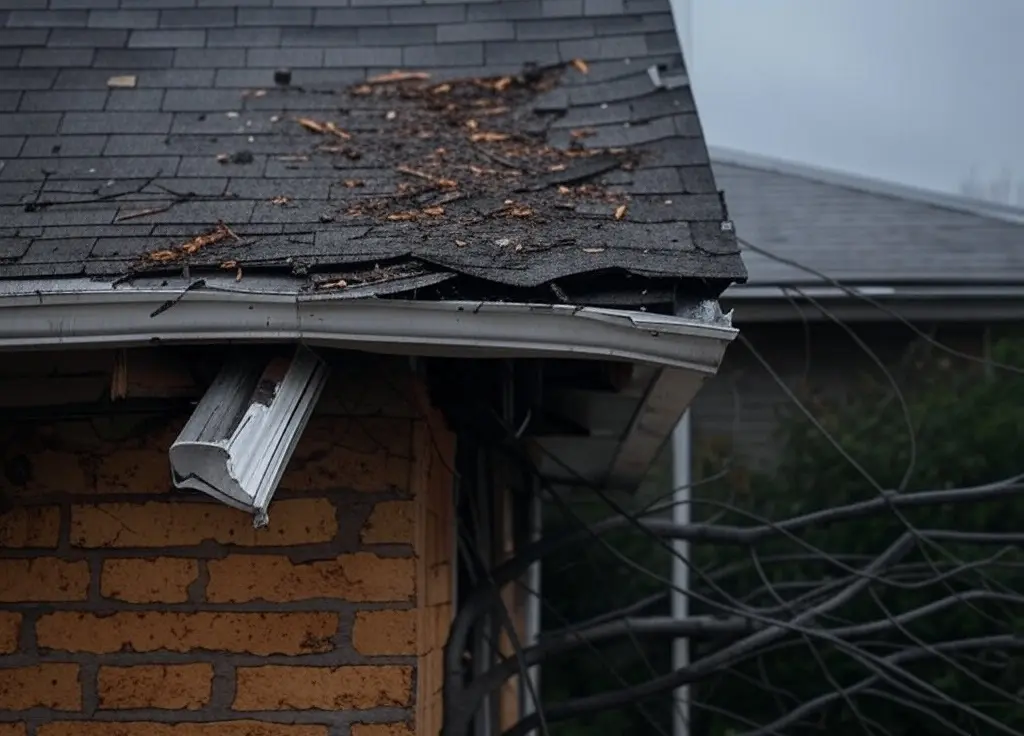
    • Preventing Fascia and Soffit Rot: Leaky or clogged gutters can cause water to overflow onto your fascia and soffits, speeding up wood rot.

    Types of Soffit and Gutters

    Types of Soffit

    • Aluminum Soffit: Strong, rust-resistant, and low-maintenance.
    • Vinyl Soffit: More affordable and moisture-resistant, but not as durable as aluminum.
    • Wood Soffit: Offers a classic look, but needs extra care to prevent rot or mold.
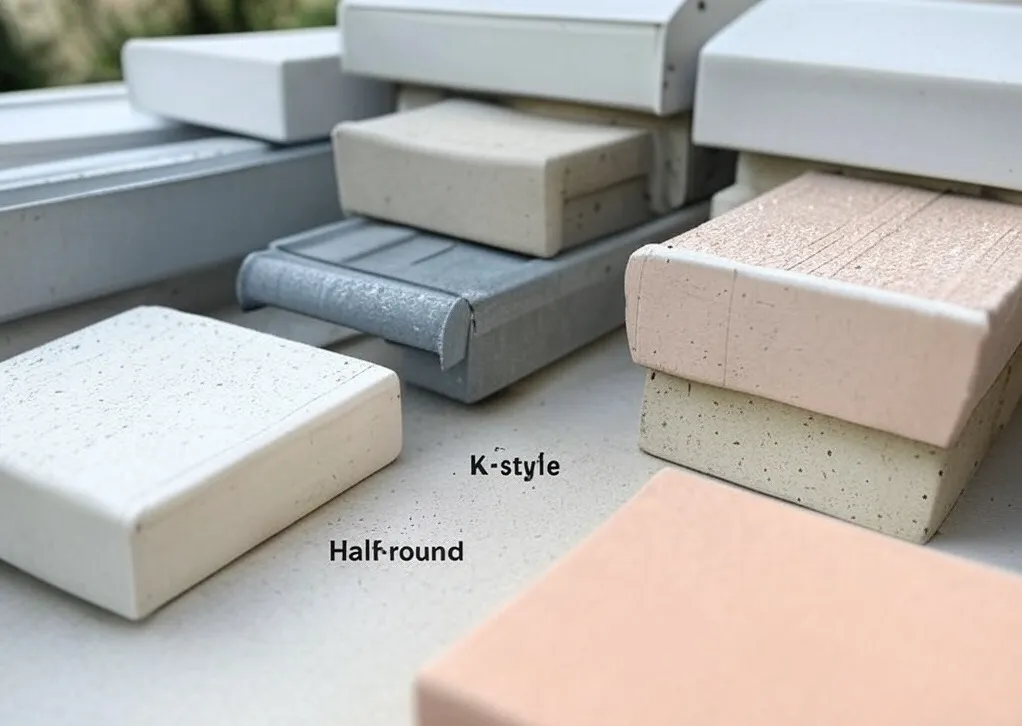
    Types of Gutters

    • Sectional Gutters: Made from multiple connected pieces. Less expensive but more likely to leak.
    • Seamless Gutters: Seamless gutters are custom-made to fit your home, with no joints, making them more durable and less prone to leaks.

    Signs of Problematic Soffits or Gutters

    Don’t ignore these signs that your soffit or gutter needs attention:

    • Soffits: Peeling paint, rotting wood, or holes from pests.
    • Gutters: Leaks, clogs, or overflowing during heavy rain.
    • Other signs: Mold or a musty smell in the attic, which could point to an issue with the soffit vents.

    Statistics and Facts about Soffits and Gutters in the US

    • According to the National Association of Home Builders (NAHB), about 85% of homes in the US have gutters, but many are not properly maintained.
    • A report from the EPA shows that moisture from poor drainage is a leading cause of mold growth in homes.
    • The average cost of gutter cleaning in the US is between $150 and $350 per visit, depending on the size of the home and how much debris needs to be cleared.
    • The cost of replacing gutters with seamless systems ranges from $3 to $30 per linear foot, depending on the material used.
    • Building codes in states like California and Florida require gutters to prevent erosion and damage from heavy rain.

    How to Care for Soffits and Gutters

    To keep your soffits and gutters in good shape, follow these maintenance tips:

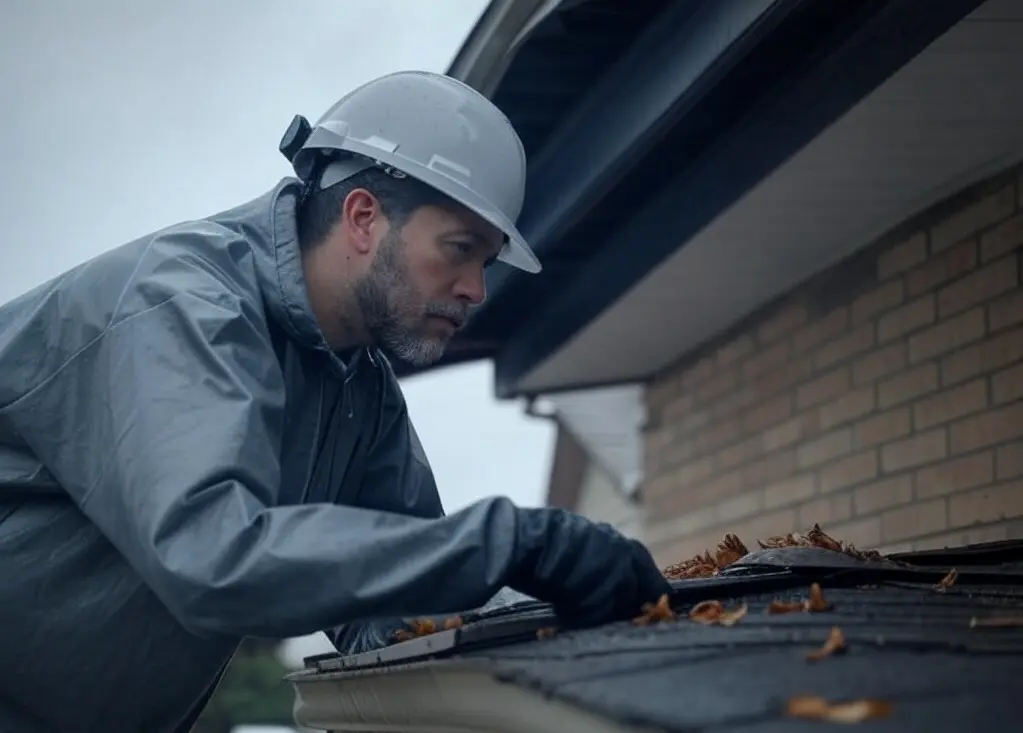
    • Clean your gutters at least twice a year to prevent clogs from leaves or debris.
    • Regularly check your soffits for any damage or signs of rot.
    • Ensure your gutters have the right slope so water flows smoothly into the downspout.
    • Consider using gutter guards to minimize debris buildup.

    When to Replace or Repair?

    If you notice rotten wood in the soffit or big leaks in the gutters, it’s best to repair or replace those immediately. Leaving those alone will only cause more damage and costly repairs in the future.

    By regularly maintaining your soffits and gutters, you can avoid costly major repairs. Don’t wait until something goes wrong—start taking care of your soffits and gutters now!

  • Protect Your Home’s Roof and Gutters from Storm Damage

    Source: freepik.com

    Storms are known to be a menace especially when it comes to property damage. The roof and gutter system on a property are two things that are damaged by the storm. Heavy rain and debris from the storm can badly damage these two systems resulting in heavy maintenance costs.

    To prevent all of this from happening, it is important that property owners act proactively. Taking safety measures in advance helps to reduce storm-related issues and also extends the lifespan of both gutter and roof systems. In this guide, we will discuss the different strategies you can adopt to protect your gutter and from the storm.

    What is the Importance of Roof and Gutter Protection

    The roof and gutter are two parts of any property that work together to protect it from the elements. A good roof helps prevent leaks and damage to the structure. Meanwhile, a well-functioning gutter system directs water away from the foundation.

    If a property owner neglects these two systems, their property is likely to get damaged. Water damage, mold, and constant repairs are just a few ways it can affect your home.

    How Storms Damage Roofs and Gutters

    Roof Damage

    • High Winds: Strong winds can tear off shingles, leaving your home exposed to water infiltration.
    • Heavy Rain: Similarly, heavy rain can cause leaks if the shingles are damaged.
    • Hail: Hailstorms can significantly dent metal roofing and break asphalt shingles, leading to premature roof wear.
    • Debris Impact: Storms often bring heavy debris, like tree branches, which can damage or puncture roofing materials.

    Gutter Damage

    • Clogging: Leaves and other debris from the storm can clog the gutters, blocking water flow and potentially causing foundation damage.
    • Detachment: Strong winds from a storm can loosen or tear the gutter system.
    • Cracking and Rusting: Storms often bring high moisture, which can lead to rusting and cracks, causing leaks.

    How you can Storm-Proofing Your Roof and Gutters

    1. Regularly Maintain Your Roof

    It’s important to routinely check your roof for any damage. This will help keep it in great shape. Alternatively, you can schedule a professional roof cleaning in Beaverton. These professionals will remove any debris that could damage the shingles.

    Tips to protect your roof:

    • Inspect the shingles for damage or missing pieces before storm season.
    • Make sure all the flashing around chimneys, skylights, and vents is secure.
    • Trim or remove any overhanging branches to minimize debris impact.
    • Fix small issues before they turn into bigger problems.

    2. Maintaining and Upgrading the Gutter System

    A properly functioning gutter system directs water away from the property’s foundation. If your system is old or damaged, you might want to invest in a new gutter installation in Beaverton. Regular maintenance helps protect your foundation in the long run.

    Tips to Protect Your Gutter:

    • Regularly clean your gutters or hire professionals to prevent clogging and overflow.
    • Install gutter guards to reduce debris buildup.
    • Check for leaks, rust, or loose fasteners regularly.
    • Make sure the downspouts direct water away from the foundation.

    3. Reinforcing Your Roof

    If you live in a storm-prone area, it’s a good idea to upgrade your roof. You can choose wind-resistant shingles or metal roofing. Investing in impact-resistant materials is a smart move that helps reduce storm damage costs.

    Additional Reinforcement Options:

    • Apply a waterproof underlayment beneath the shingles.
    • Use hurricane straps to secure the roof structure.
    • Reinforce soffits and fascia to withstand strong storm winds.

    4. Installing a Proper Drainage System

    Water pooling on the roof is a bad sign, as it can cause structural damage. That’s why it’s important to make sure your property’s drainage system is working efficiently. To do this, maintain your gutter system and consider adding extra downspouts.

    Effective Drainage Strategies:

    • Ensure the gutter slope is correct so that it directs water away from the foundation, not toward it.
    • Install French drains or rain barrels to manage excess water.
    • Check attic ventilation to prevent moisture buildup.

    5. Schedule Professional Inspections

    If you can’t perform regular inspections yourself, it’s important to hire a professional. They can spot issues before they turn into major problems. Experts can also assess your roof and gutters, recommend any necessary repairs, and help with cleaning.

    Conclusion

    Storm damage is real, and it can seriously impact your home’s roof and gutter systems. Keeping these two in good shape is crucial if you want your house to maintain a solid foundation. Regular roof and gutter maintenance also helps avoid expensive repairs down the line.

    Scheduling routine cleaning and maintenance by a professional is highly recommended. By investing in these services, you’re safeguarding your home from storm-related damage. Taking proactive steps now ensures your home will be ready to face the next storm season.

  • The Best Cleaning Checklist for Dallas Renters

    New to an apartment in Dallas? Giving it a deep clean before moving in not only keeps it fresh and clean but also helps it feel more like home. Dallas renters often deal with issues like mineral buildup on faucets and shower doors due to the city’s water quality, as well as seasonal dust. The region’s high humidity at certain times of the year can cause mold and mildew to develop in kitchens and bathrooms.

    Cleaning before unpacking helps your space feel fresh and healthy for you and your family. This guide includes a handy checklist of must-have cleaning supplies and simple tasks to help you settle in.

    Pro Tips for Renters

    1. Clean Before Unpacking

    Even if the previous tenant or landlord cleaned the apartment, doing your own deep clean ensures it meets your standards. Focus on disinfecting high-touch areas like door handles, light switches, and cabinet knobs.

    Start with the kitchen and bathroom since they tend to get dirty the quickest. Wipe down the kitchen sink and appliances before using them, and clean the fridge shelves to get rid of any leftover germs. To get rid of hard water stains, try store-bought cleaners or a vinegar solution.

    2. Take Photos of Any Damage Before Unpacking

    Before you start unpacking, take pictures and videos of any scratches, stains, or damage you spot while cleaning. These can help you get your security deposit back when you move out.

    Let your landlord know about any problems, like a leaky pipe, broken appliances, or outlets that don’t work. Taking care of these issues early can save you a lot of hassle later.

    3. Create a Simple Cleaning Routine

    Keeping your apartment clean after you move in is easier with a regular cleaning routine. Here’s a simple schedule to follow:

    • Daily: Wipe down kitchen counters, sinks, and dining areas. Wash dishes right away to keep your kitchen tidy and avoid pests.
    • Weekly: Mop floors, dust furniture, and wipe down appliances like the microwave and stovetop. Vacuum carpets to remove dust and allergens.
    • Monthly: Deep clean the oven, wash the windows, and check for mold in humid spots like the bathroom.
    • Every Few Months: Steam-clean carpets and fabric furniture to get rid of built-up dirt.

    Cleaning Tips for Dallas’s Changing Seasons

    Dallas’ climate can affect how clean your apartment stays. Here’s how to tweak your cleaning routine by season:

    • Spring & Fall: Storms and pollen can make dust levels rise. Keep surfaces, air vents, and shelves dust-free to cut down on allergens.
    • Summer: Dallas summers can get really humid, which can cause mold, especially in bathrooms and under sinks. Keep the air flowing by using exhaust fans and a dehumidifier.
    • Winter: Heating systems can mess with the air quality inside. Clean heating vents and air filters before winter hits to prevent dust buildup and bad smells.

    Must-Have Cleaning Supplies

    To clean more efficiently, gather all your supplies before you start. Interruptions can slow you down, so be prepared with:

    • Basic Cleaning Supplies: Cloths, sponges, all-purpose cleaner, and disinfectant wipes.
    • Kitchen: Degreaser, vinegar, baking soda, and dish soap.
    • Bathroom: Hard water remover, toilet cleaner, and a brush for grout.
    • Floors & Carpets: Mop, vacuum, and a steam cleaner for deep cleaning.
    • Other: Duster, glass cleaner, trash bags, and gloves.

    Dallas water contains a lot of minerals, so using a hard water remover or vinegar helps keep sinks and bathroom fixtures clean.

    Deep Clean These Important Areas in Your Apartment

    Kitchen

    The kitchen should be one of the first places to clean the house before moving in. Here’s how to do it:

    • Refrigerator: Take out the shelves and drawers, clean them with vinegar, and let them dry before putting your food back in.
    • Stovetop & Oven: Spray degreaser on the stovetop and oven, then wipe it down. For microwaves, heat a bowl of water with lemon juice to help loosen any stuck-on food, making it easier to wipe off.
    • Dishwasher: Place a cup of vinegar on the top rack and run a cleaning cycle. Then, sprinkle some baking soda and run another short cycle to help get rid of any smells and buildup.
    • Cabinets & Countertops: Wipe down drawers and shelves before putting away your kitchen stuff. Make sure to wipe down countertops before cooking.

    Bathrooms

    Bathrooms tend to get hard water stains and mildew, so deep cleaning them before using them:

    1. Toilet: Give it a good scrub, and if you want it to feel brand new, consider replacing the toilet seat.
    2. Shower & Bathtub: Use vinegar and baking soda to get rid of soap scum and hard water stains.
    3. Grout & Sink Areas: Scrub grout lines with a good cleaner and wipe down sinks to keep water stains away.
    4. Mirrors & Fixtures: Wipe them down with a streak-free glass cleaner to keep them shiny and streak-free.

    Living Room

    Since the living room gets a lot of use, it can collect dust and allergens. Here’s how to keep it clean:

    1. Floors: Vacuum carpets and mop hard floors to remove dirt and dust.
    2. Furniture: Dust shelves, coffee tables, and window sills with a cloth.
    3. Ceiling Fans: Wipe fan blades to clear off dust.
    4. Upholstery: Vacuum couch cushions and use a fabric cleaner to keep them fresh.

    Bedrooms

    Keeping your bedroom clean helps you sleep better and keeps the air fresh:

    1. Floors & Under-Bed Cleaning: Vacuum and sweep—don’t forget to clean under the bed and other furniture.
    2. Dusting: Dust nightstands, window sills, and ceiling fans.
    3. Bedding & Curtains: Wash sheets, pillowcases, and curtains to keep them fresh and free of dust.
    4. Closet Organization: Clean shelves before putting your clothes away, and use drawer liners to keep things tidy.

    Final Check Before Unpacking

    Before you start unpacking, do a final check to make sure nothing was overlooked:

    • Give door handles, light switches, and remotes a quick wipe.
    • Mop hard floors and vacuum carpets for a finishing touch.
    • Make sure kitchen and bathroom surfaces are disinfected.

    Once you’re done, your apartment will be fresh and ready to enjoy. A good cleaning routine will make it easy to keep your place fresh and clean over time.

  • Why You Should Hire a Professional Squirrel Exterminator

    Squirrels are cute when they’re running around the yard, but when they’re running around your attic or walls, they can really make some noise. Along with other creepy crawlies, they can turn your home into a nightmare. Not only are they chewing on wires, but they’re also spreading diseases.

    Here is why hiring a professional squirrel exterminator is a good idea.

    Spotting the Problem Early

    Catching a squirrel problem early can save you a heap of trouble. These critters are real good at worming their way into attics, basements, and even your walls. Once they’re in, they’ll start chewing up your insulation, wooden beams, and worst of all, your electrical wiring.

    That’s just a disaster waiting to happen; it could even spark a serious fire. A squirrel exterminator can spot these signs early and handle them before things get out of hand.

    Keeping Your Family Safe

    Even though squirrels might not seem dangerous, they can get aggressive if they feel cornered. They have sharp claws and teeth that can cause nasty injuries.

    Plus, they can carry diseases like rabies and leptospirosis, which can put your family and pets at risk. A trained exterminator knows how to remove squirrels safely without putting anyone in danger.

    Stopping Them from Coming Back

    When you’re handling squirrel removal, you gotta make sure they don’t find their way back in. A good exterminator won’t just remove them; they’ll also find out how they got in and seal up any entry points.

    This prevents future infestations and saves you from dealing with the same problem over and over again.

    Why DIY Methods Don’t Work

    A lot of homeowners try to handle a squirrel problem on their own, but that can just make things worse. You might overlook critical warning signs, like chewed-up wires or hidden nests, leading to expensive repairs or health risks. And if you don’t get all the squirrels out, they’ll just keep coming back.

    A pro knows exactly where to look and how to deal with the situation the right way, saving you both time and money down the road

    Using Humane and Legal Methods

    A professional exterminator will use humane methods to remove squirrels, often using live traps and relocating them to a safe area. They also make sure everything is done according to local wildlife laws, so you won’t have to worry about any legal trouble.

    Choosing the Right Local Expert

    Not all exterminators are the same. It’s best to hire someone who knows the local area and the specific wildlife in your region. Local experts understand the behavior of squirrels in your area and follow all state and city regulations for removing them. That means you get faster, more effective results.

    Get Rid of That Squirrel

    If you’ve got squirrels in your home, don’t wait until the damage gets out of control. A professional exterminator will handle the problem safely and efficiently, making sure your home stays squirrel-free for good.

    They’ll inspect your property, remove the pests, seal up entry points, and even repair any damage. Investing in a pro is the best way to keep your home safe and avoid expensive repairs down the road.

  • Lawn Mower Belt Replacement: Where to Find Quality Lawn Mower Belts

    If you want your lawn mower to perform at its best, you can’t ignore the belt. It’s the powerhouse that transfers energy from the engine to the blades. Over time, heat, friction, and yard wear and tear can do a number on it. So, when is it time to replace it? Let’s find out.

    When to Replace Your Lawn Mower Belt

    Keep an eye out for these signs that your mower belt’s calling it quits:

    • Cracks, Frays, or Damage: Give the belt a quick check. If you see visible damage, it’s time for a replacement.
    • Slipping or Power Loss: Struggling to cut grass or noticing the blades aren’t engaging? Your belt might be stretched or worn out.
    • Weird Noises: Squealing or grinding sounds during mowing could be your belt’s way of saying, “Help!”

    If you catch any of these signs, don’t wait.. replace that belt before things get worse.

    Where to Find Quality Lawn Mower Belts

    When searching for lawn mower belts for sale, it’s important to consider quality and compatibility. Here’s where you can score a good belt that fits your mower:

    1. Local Hardware Stores: Stores like Ace Hardware and Home Depot often carry a variety of belts, and their staff can help you find the right size
    2. Online Retailers: Websites like Amazon and eBay are great, but be sure to check reviews to avoid duds.
    3. Manufacturer Websites: Got a specific mower brand like MTD, Gravely, or Simplicity? Check their site for OEM (original parts) to guarantee compatibility.
    4. Auto Parts Stores: Some stores like AutoZone carry mower belts, especially if they serve small engine repair customers.

    By sticking with trusted retailers, you’ll get a belt that lasts and performs like it should.

    How to Replace Your Lawn Mower Belt

    Got your new belt? Awesome! Here’s how to replace it out step-by-step:

    1. Turn Off the Mower: Safety first—make sure the mower is off and can’t accidentally start.
    2. Clear Debris: Clean the area around the pulleys. Grass clippings can get in the way.
    3. Remove the Old Belt: Depending on your mower, you may need to remove the deck or open a cover to access it.
    4. Install the New Belt: Use a belt designed for your mower (no DIY cutting needed). Thread it along the pulleys, following any guide arrows. If no arrows, match how the old belt was positioned.
    5. Secure and Test: Once it’s wound properly, make sure everything’s snug and reassemble the mower. Start it up and let it run briefly at idle to make sure the belt moves smoothly.

    Pro Tip for Longevity

    After installing your new belt, regular checks will help keep it in its best working condition. Monitor for wear a several times during use, and most importantly during high mowing times.

    By following these tips and buying high-quality belts, your mower will have a mower that will work for your lawn for the whole growing season!